
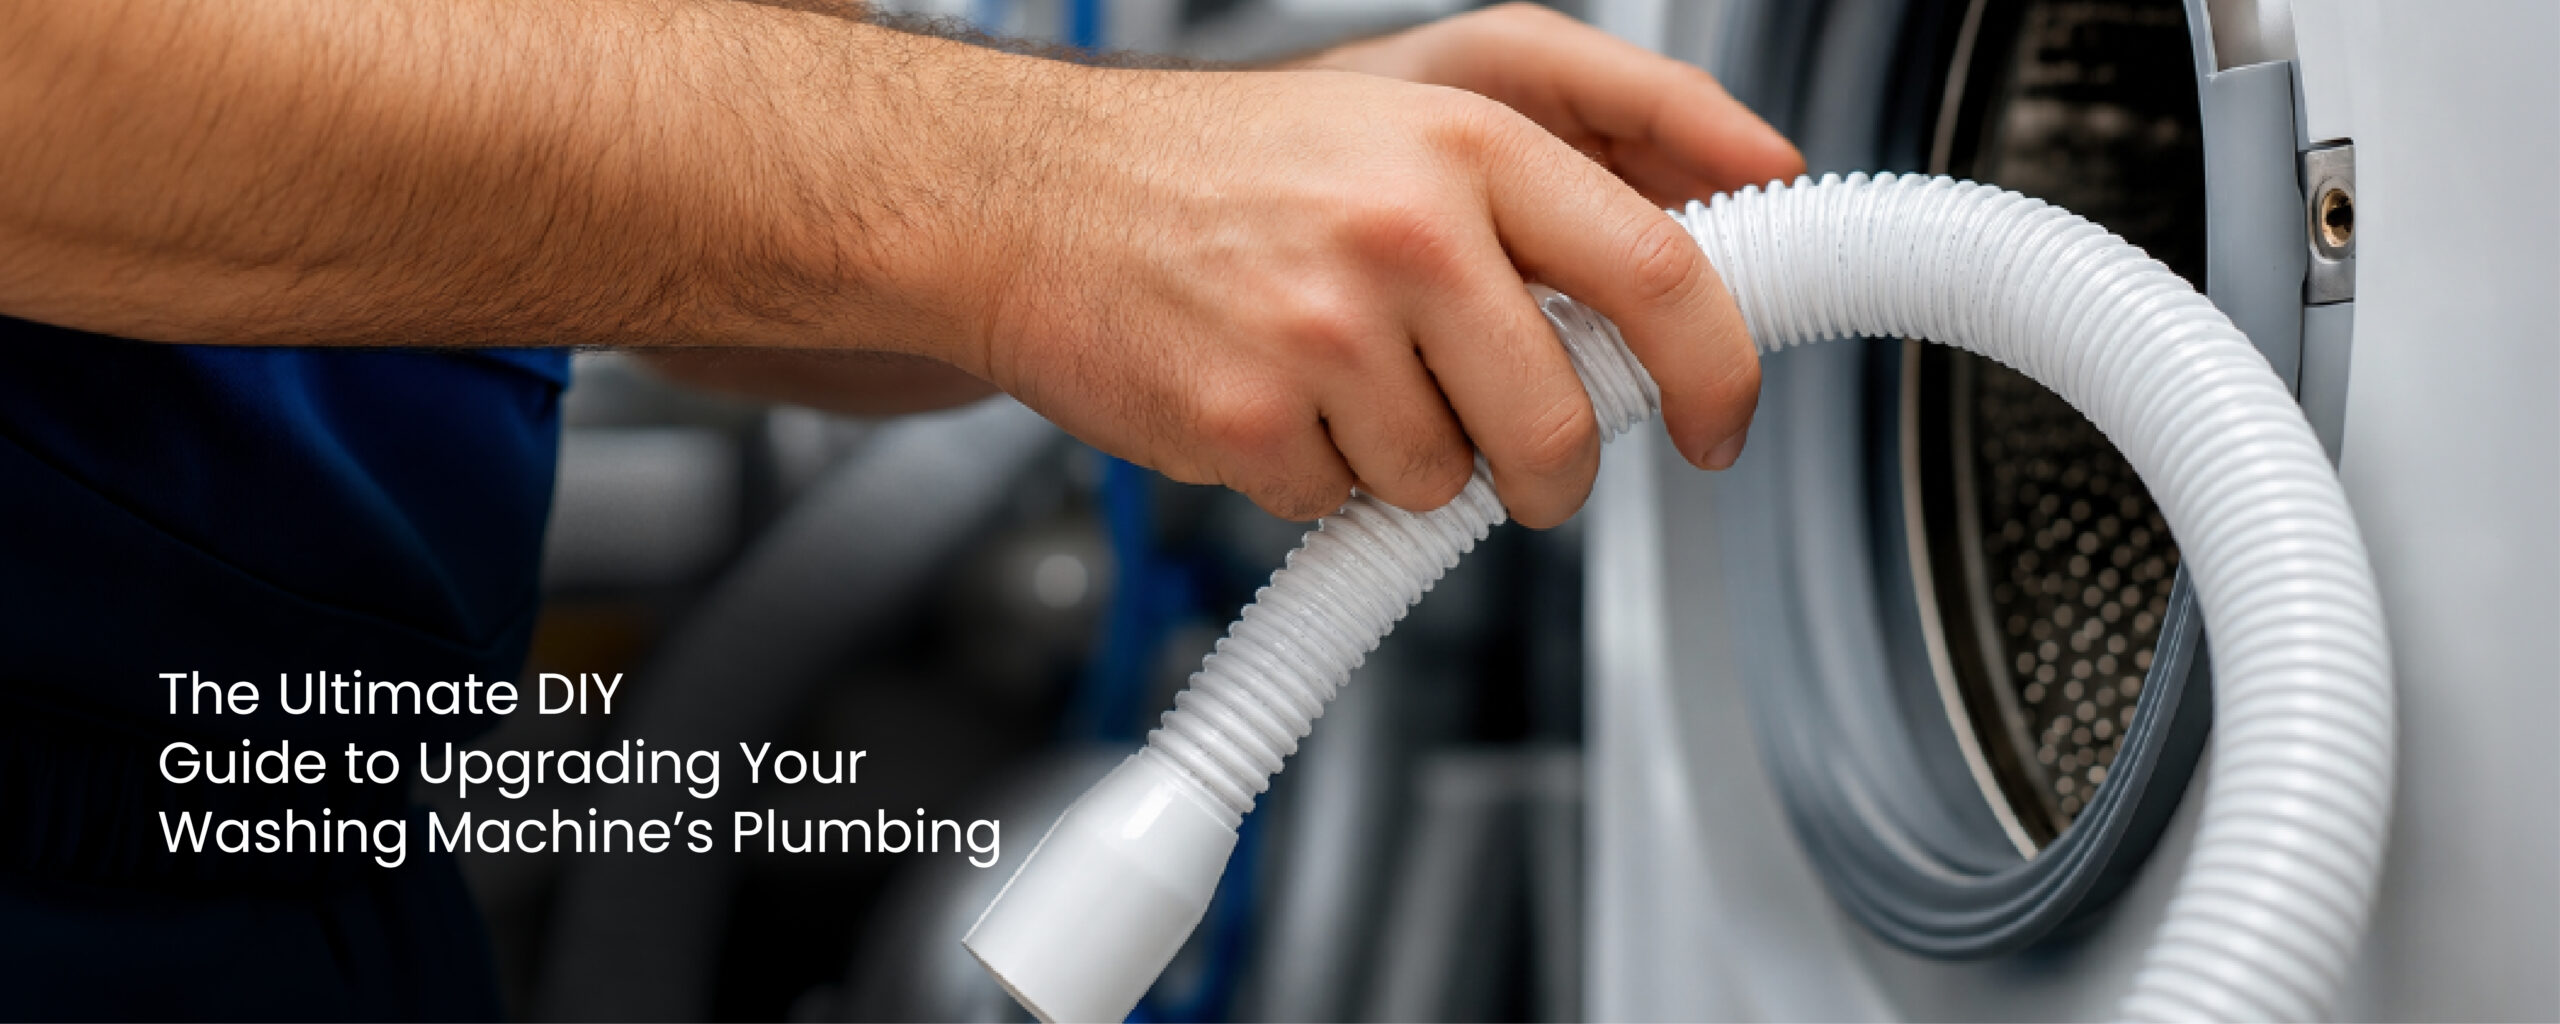
Our washing machines are a key part of our home life and we take them for granted, but until there’s a sudden, unexpected leak, we never really think about the plumbing that powers them. The most frequent reason why laundry rooms flood and appliances do not work well is because of a worn inlet or outlet hose.
You don’t always have to call a professional when your washing machine hoses start to deteriorate, harden or lose pressure. It’s a very practical DIY project to upgrade your appliance’s plumbing, and it can save you money and prevent water damage to your home.
Follow along with your step-by-step guide to safely replacing your washing machine plumbing with quality parts.
Recognizing the Warning Signs
It’s important to understand if the set you have now is at risk before embarking on your DIY project. Keep an eye out for these warning signs:
Rigidity: Over time, old rubber hoses become hard and brittle and tend to crack under pressure.
Boil Signs: Scuffs, cuts or bulging areas on the pipe are visible signs of a blowout.
Common problems include water pressure drops in home appliances and problems with drainage as they are often associated with internal wear and slow drainage.
Minor Leaks: If the hose threads or pipe have failed, a leak is occurring regardless of how small.
So, in order to get the best results, you must select the right replacement pipe.
Hoses for appliances vary in quality. If you are looking for a long-term solution that won’t cause any problems, you need to upgrade your pipe to a quality one. Champion Inlet / Outlet Pipes are designed for this purpose.
More Flexibility: Laundry rooms may have to run pipe through hard to reach areas behind equipment, but the flexible design of Champion Pipes will not kink allowing for smooth water flow.
Maximum Durability: They are abrasion resistant, which means they won’t easily burst or break due to the vibrations of the washing machine.
Step-by-Step Installation Guide:
Replacing your washing machine hoses is simpler than it sounds. Follow these steps carefully and the whole job takes under 30 minutes.
For Prep for Safety: Unplug washing machine from electrical outlet. Find hot and cold water supply valves behind the machine and shut them off fully.
Drain and Disconnect: Drain the connections and place a bucket under the excess water. With pliers or wrench, gently remove old hoses from wall valves and back of the machine.
Upgrade: Thread the new Champion flexible pipes onto the machine and on the wall valves. Be sure they are hand-tight and then use your pliers to hand tighten by an additional ¼ turn. Avoid over-tightening.
Test for Leaks: Reopen water supply valves and check for leaks. If all is dry, connect to the power and perform a brief test cycle.
Do you intend to upgrade the washing machine today or do you want to upgrade the plumbing to other home appliances too?
